Power Tools / Rotary Line / Semi Professional System
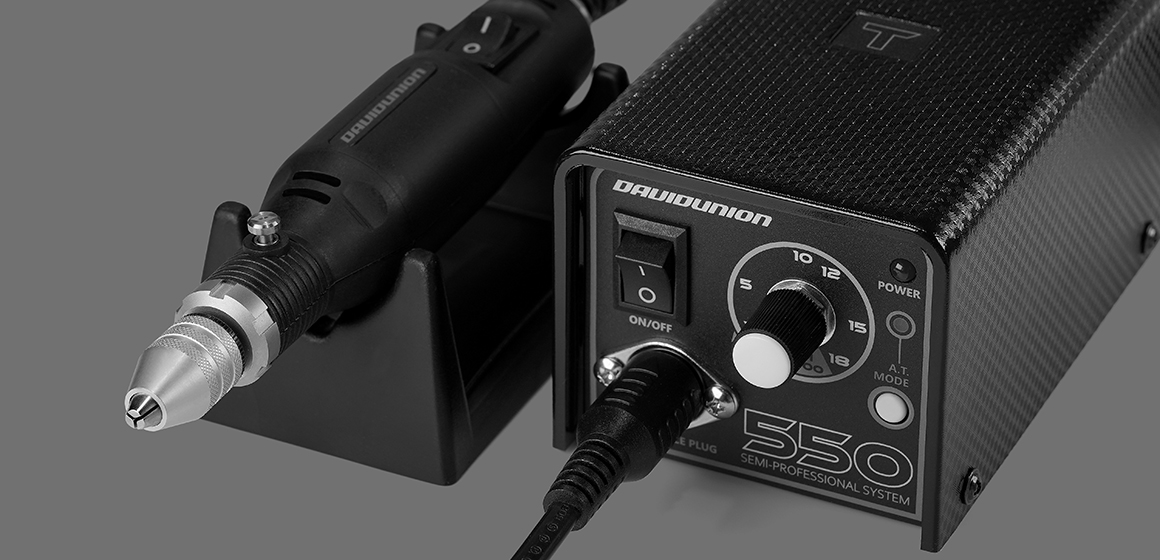
D550T
With its powerful motor and innovative Auto-Torque Engine, the D550T offers exceptional performance for model making. By simply switching the 2-stage A.T. button, whether you’re processing 3D printed resins or meticulously detailing garage kits, the D550T effortlessly handles even the most challenging tasks with automatic speed and torque compensation, ensuring optimal results.
USD $ 145
-
Model No. D550T
Electrical requirements
Handpiece: DC3-18V, 0.25A
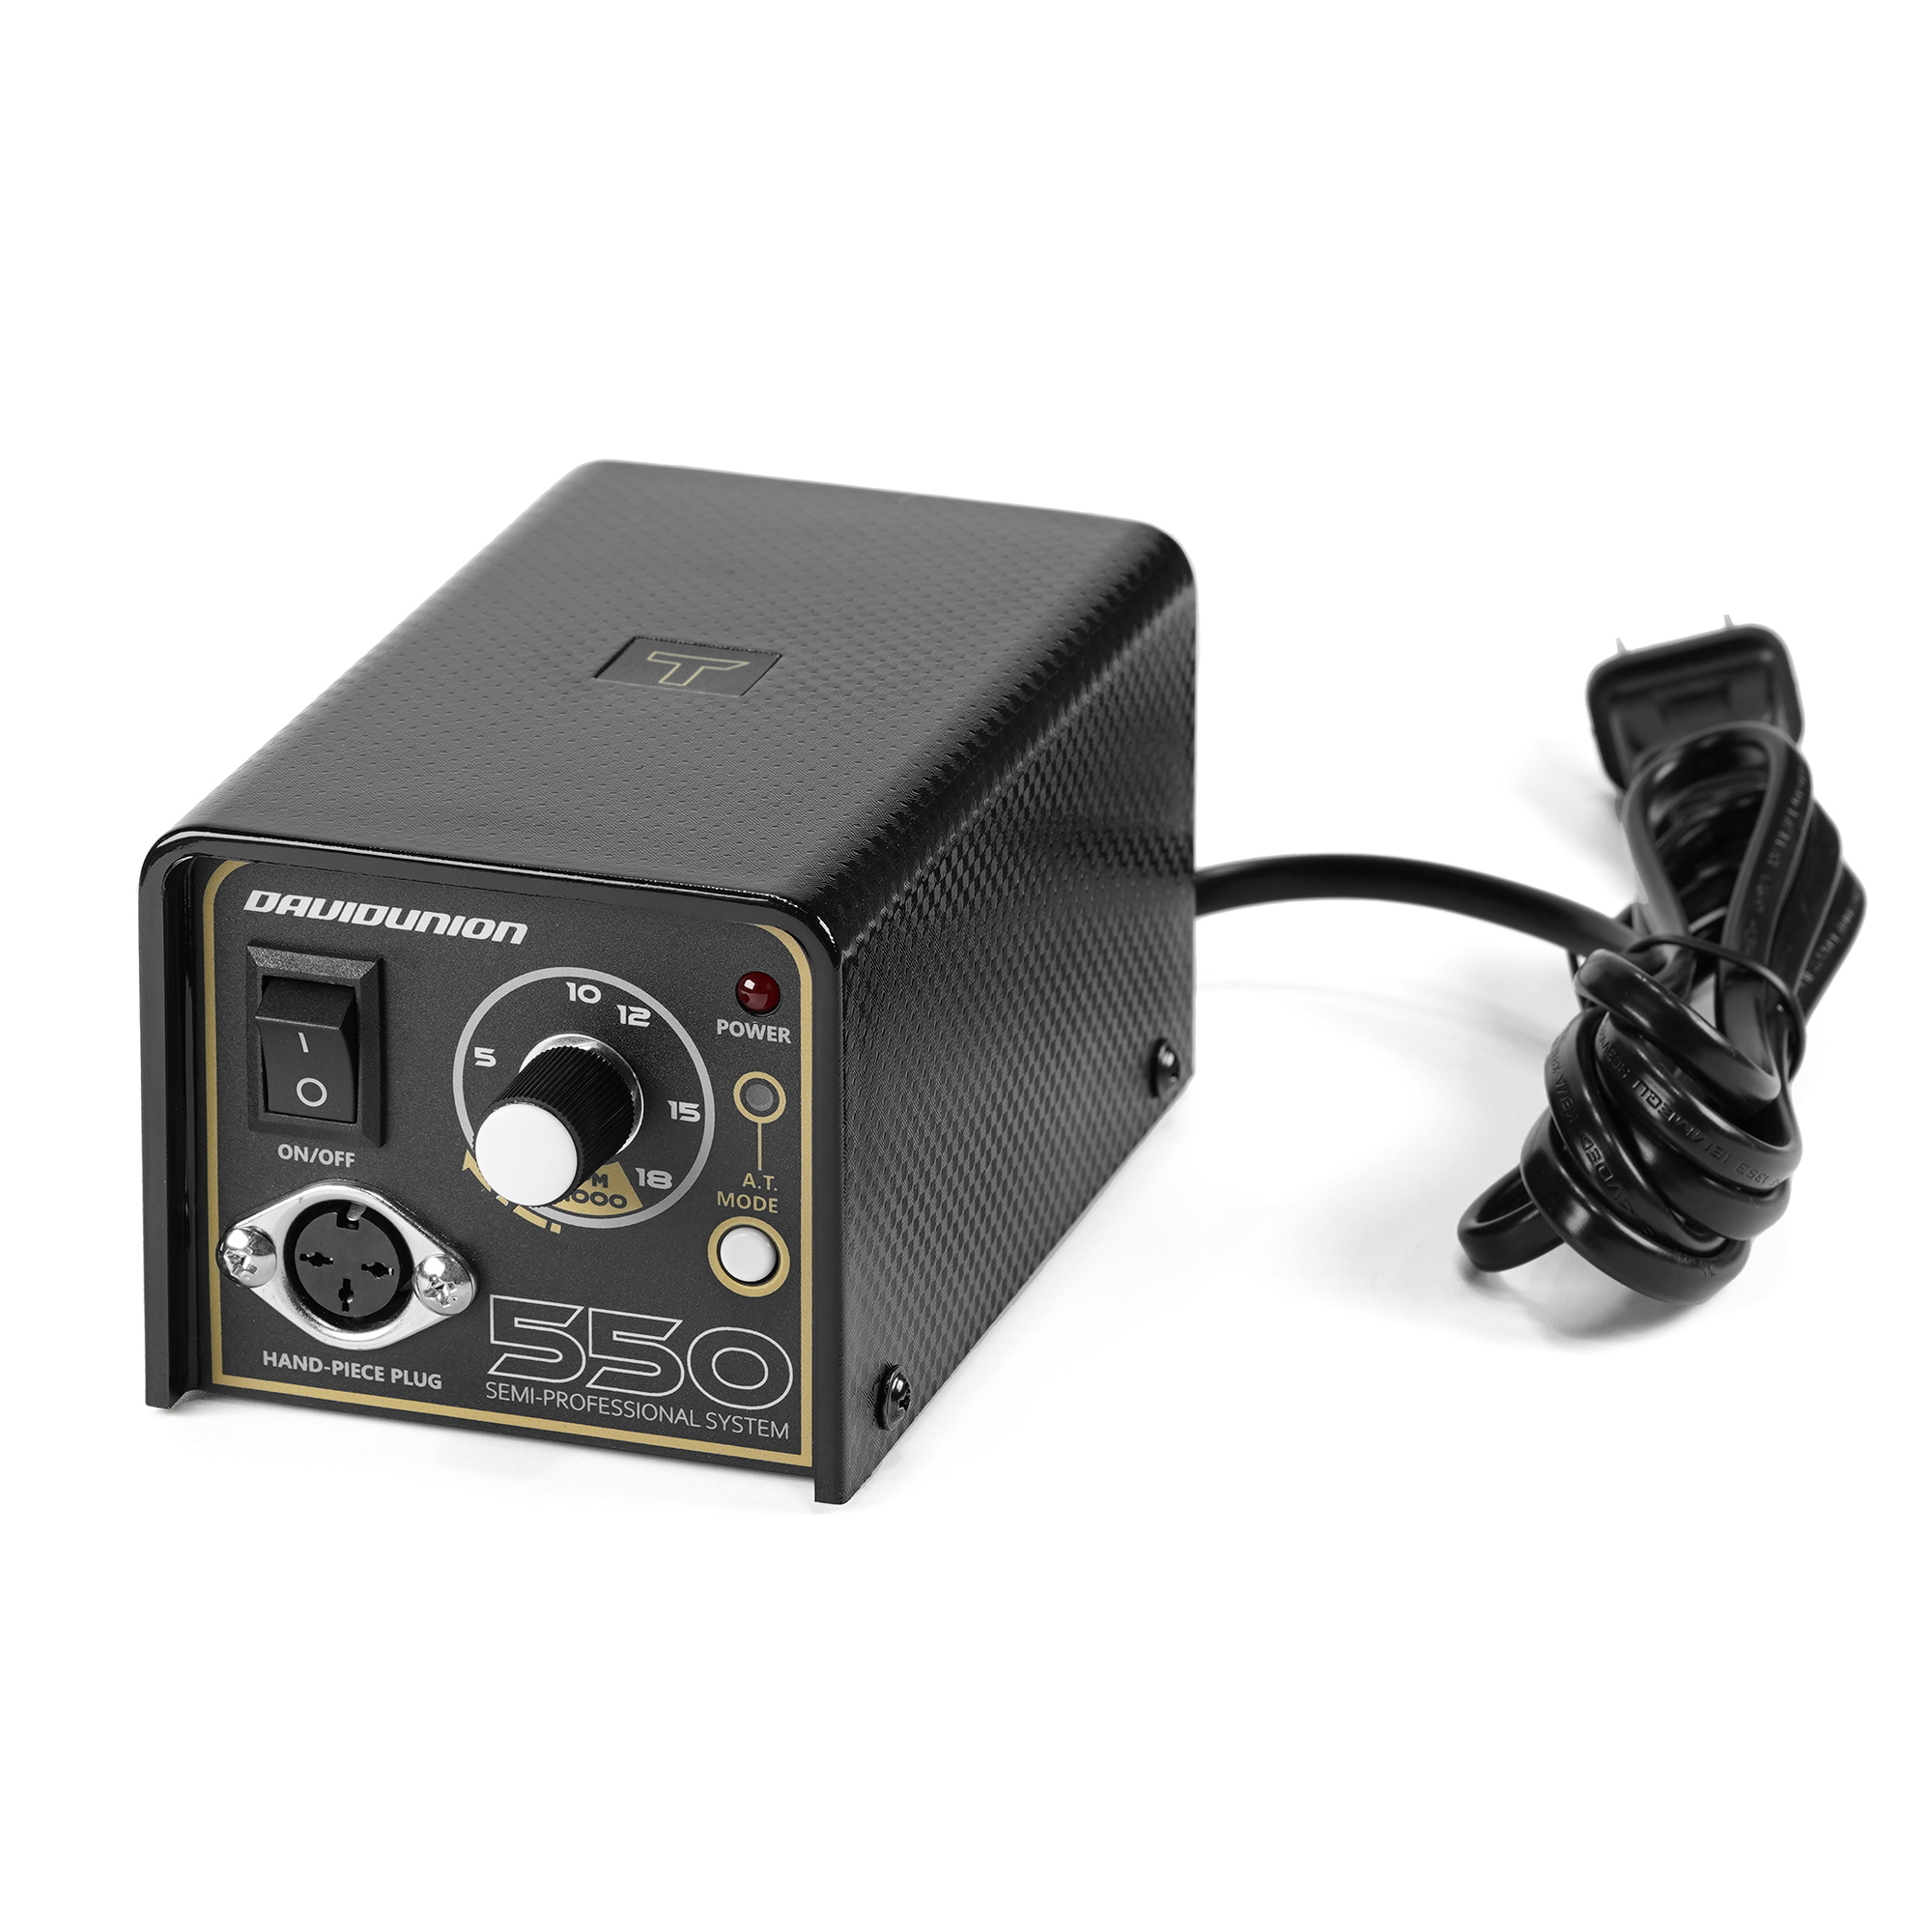
Controller: 120V~ 60Hz / 230V~ 50HzPlug Type: Type A / Type C / Type G
Rotary Speed: 2,500-18,000 RPM
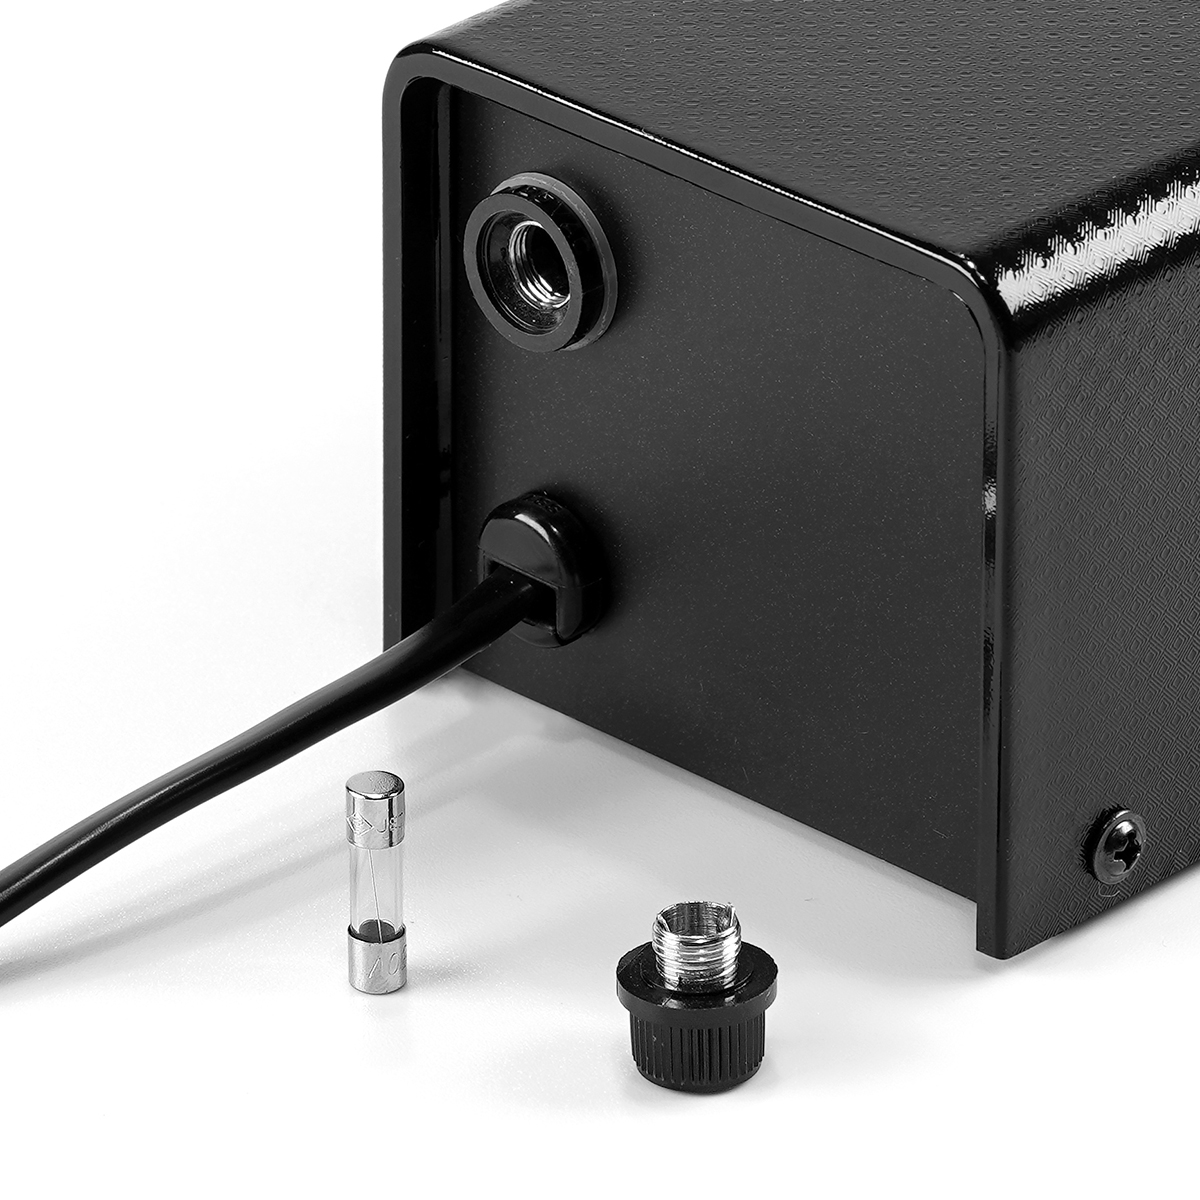
Fuse: 5.2 x 20mm, 1A250V/AC -
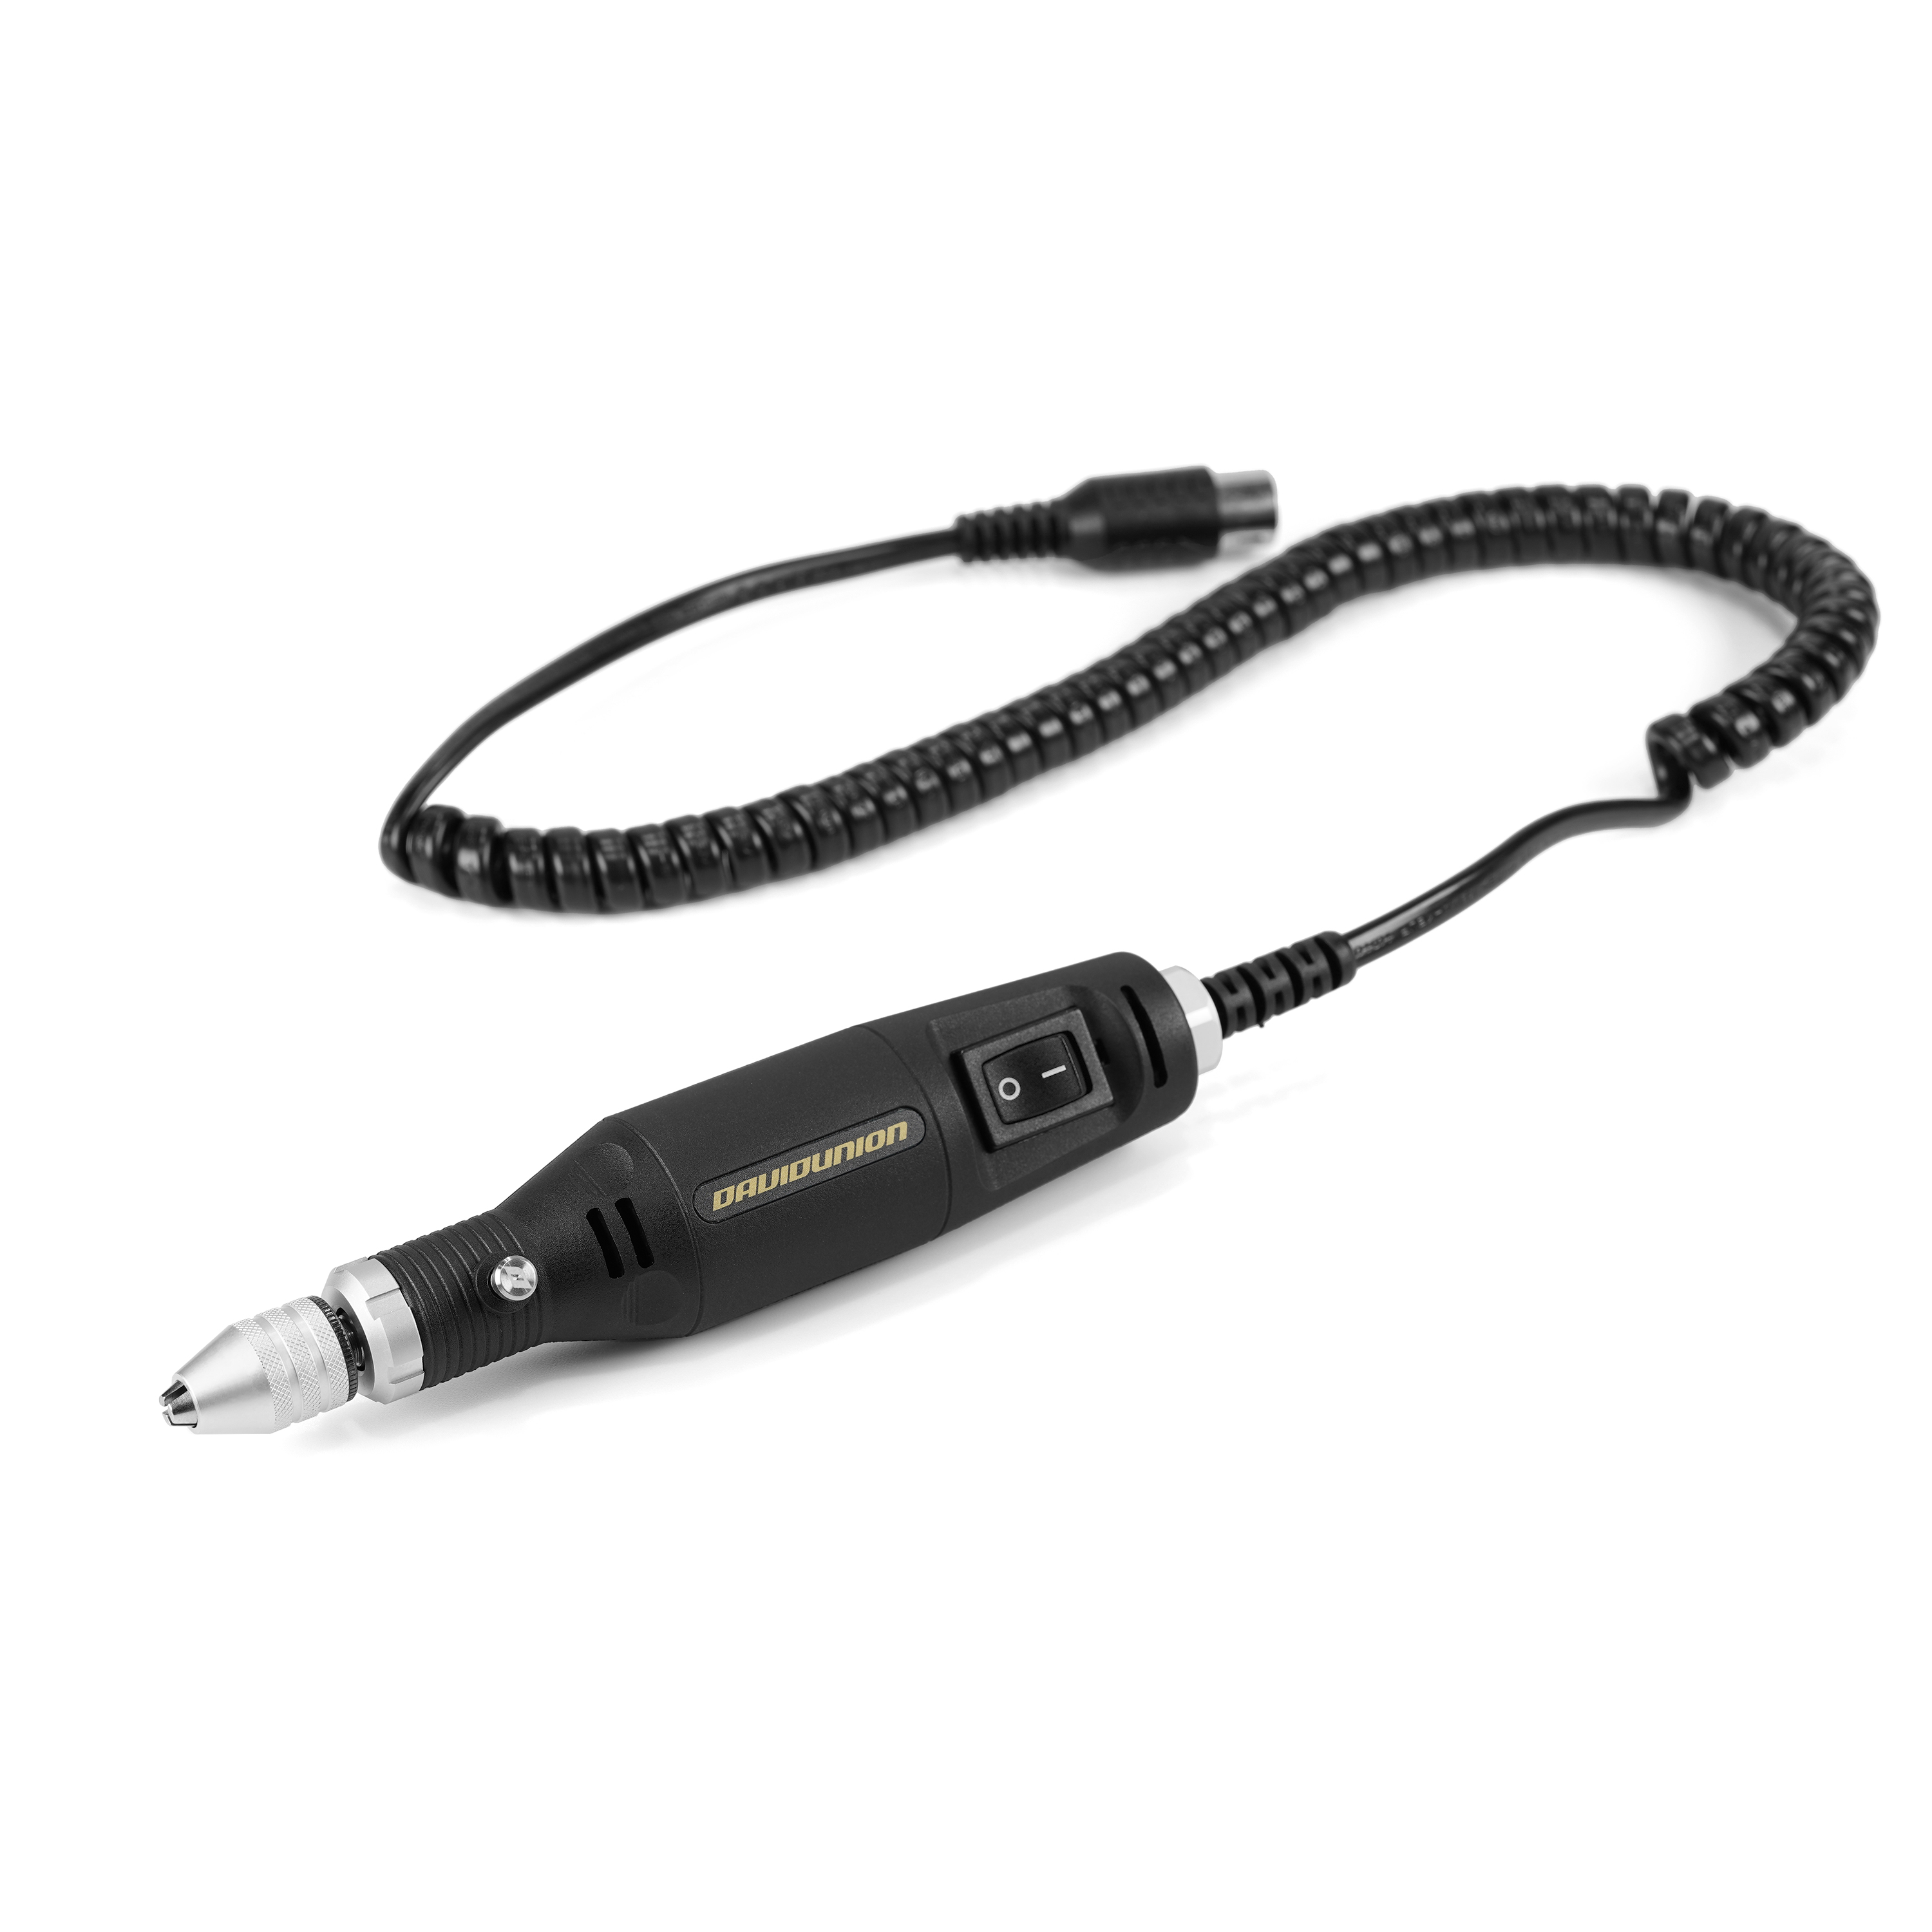
Handpiece: (Max.) Dia. 32 x L163mm / 197g
Controller: L145 x W83 x H68mm / 956g -
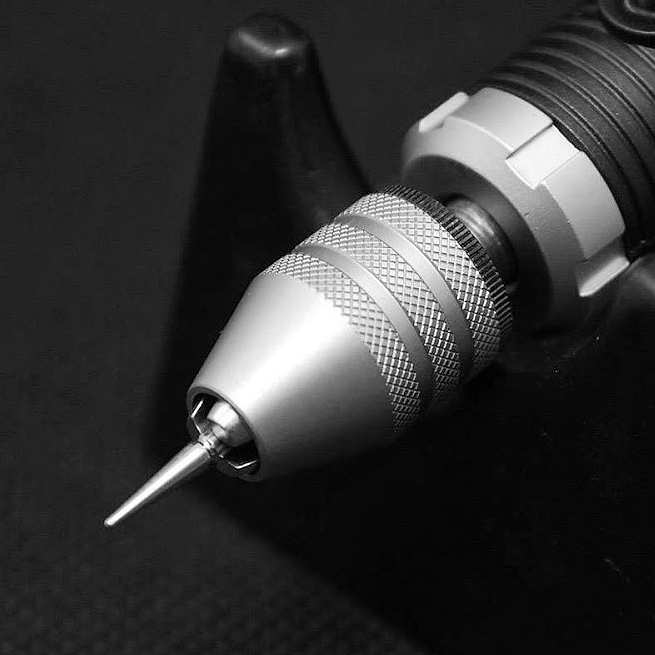
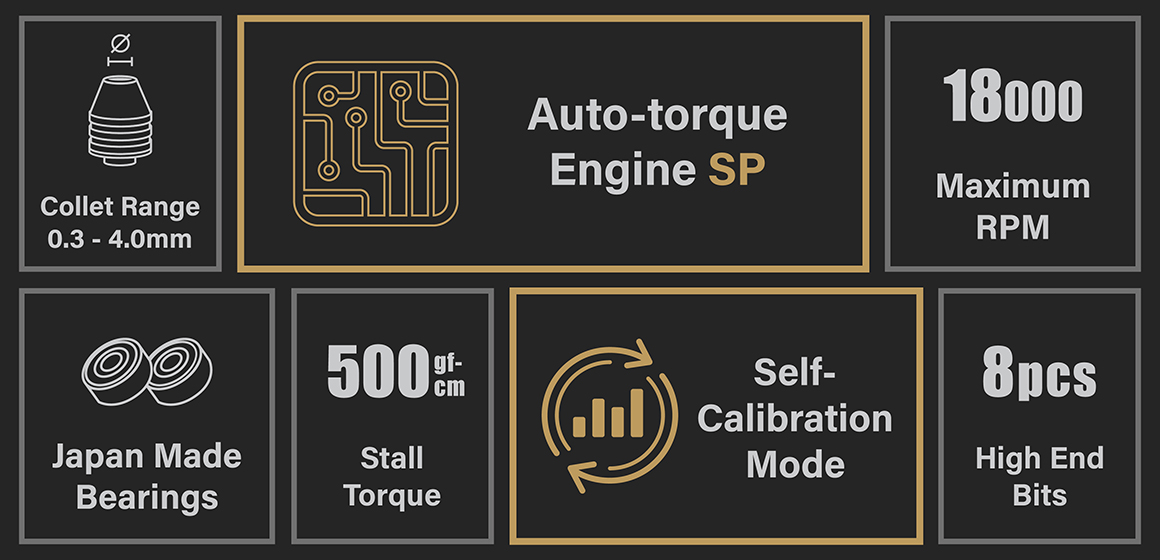
Handpiece x1 (Spring Chuck 0.3-4.0mm)
Multi-Functional Controller x1
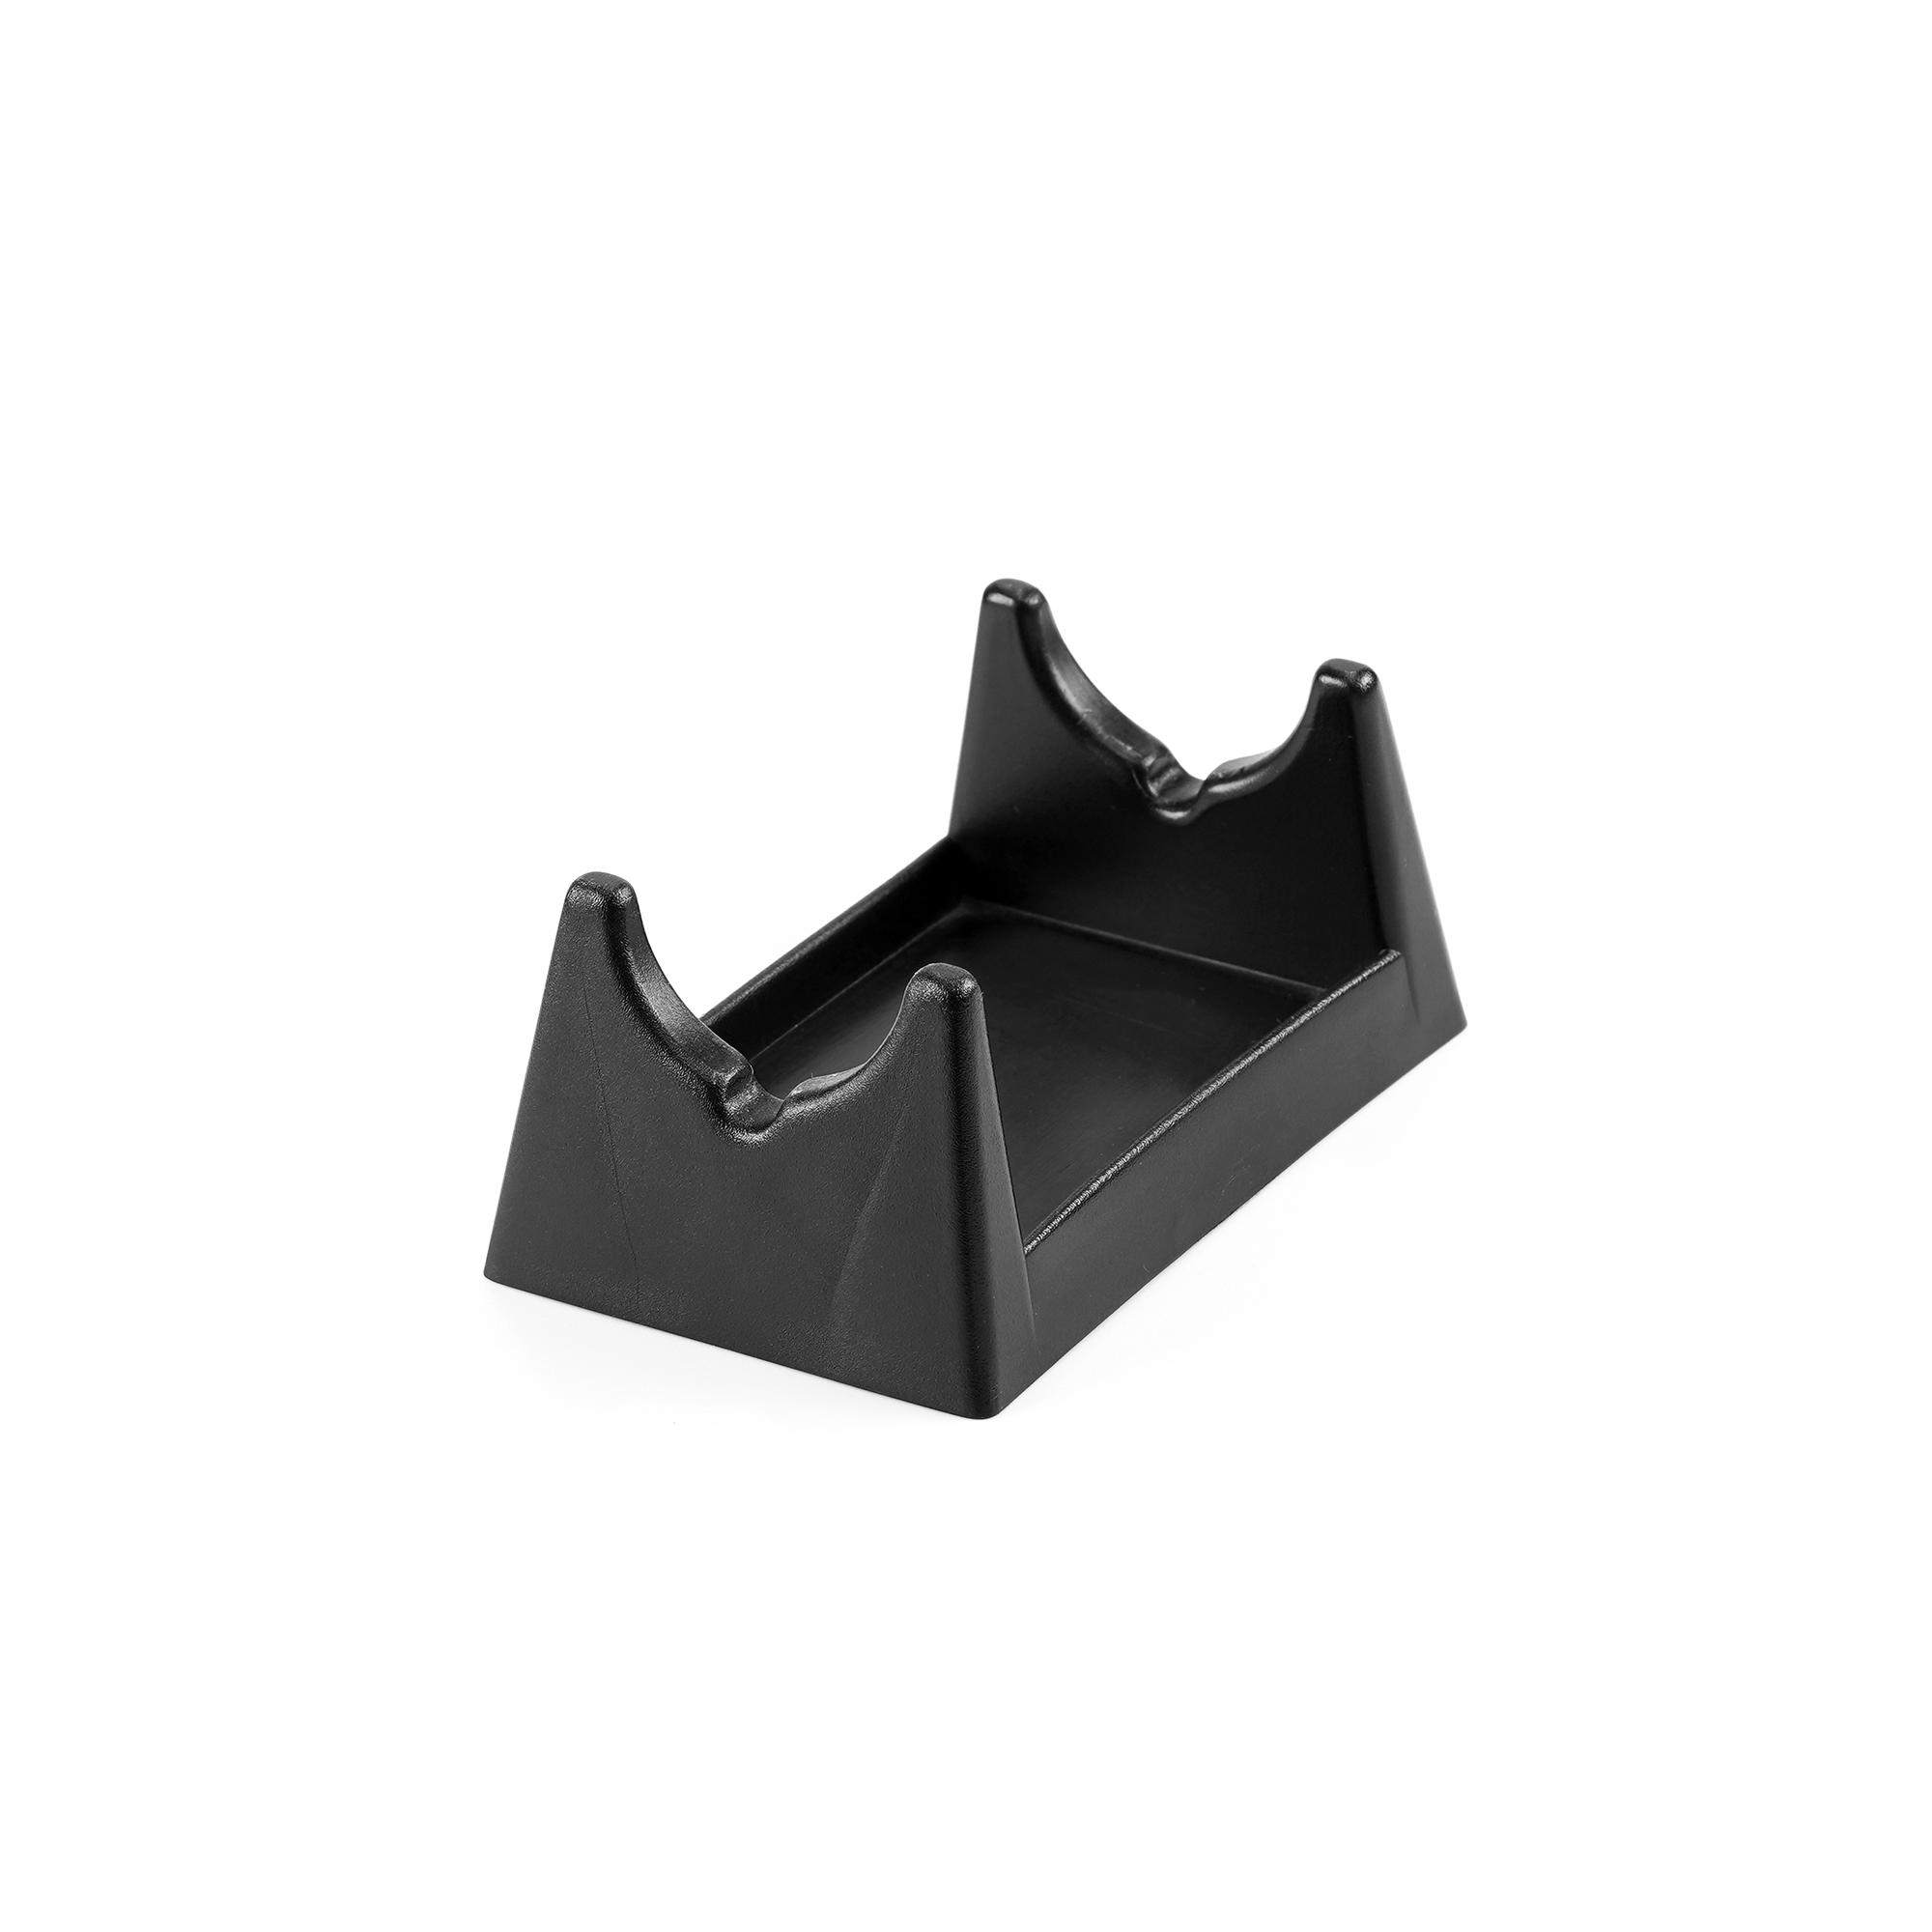
Handpiece Rest x1
Spare Fuse (1A) x1
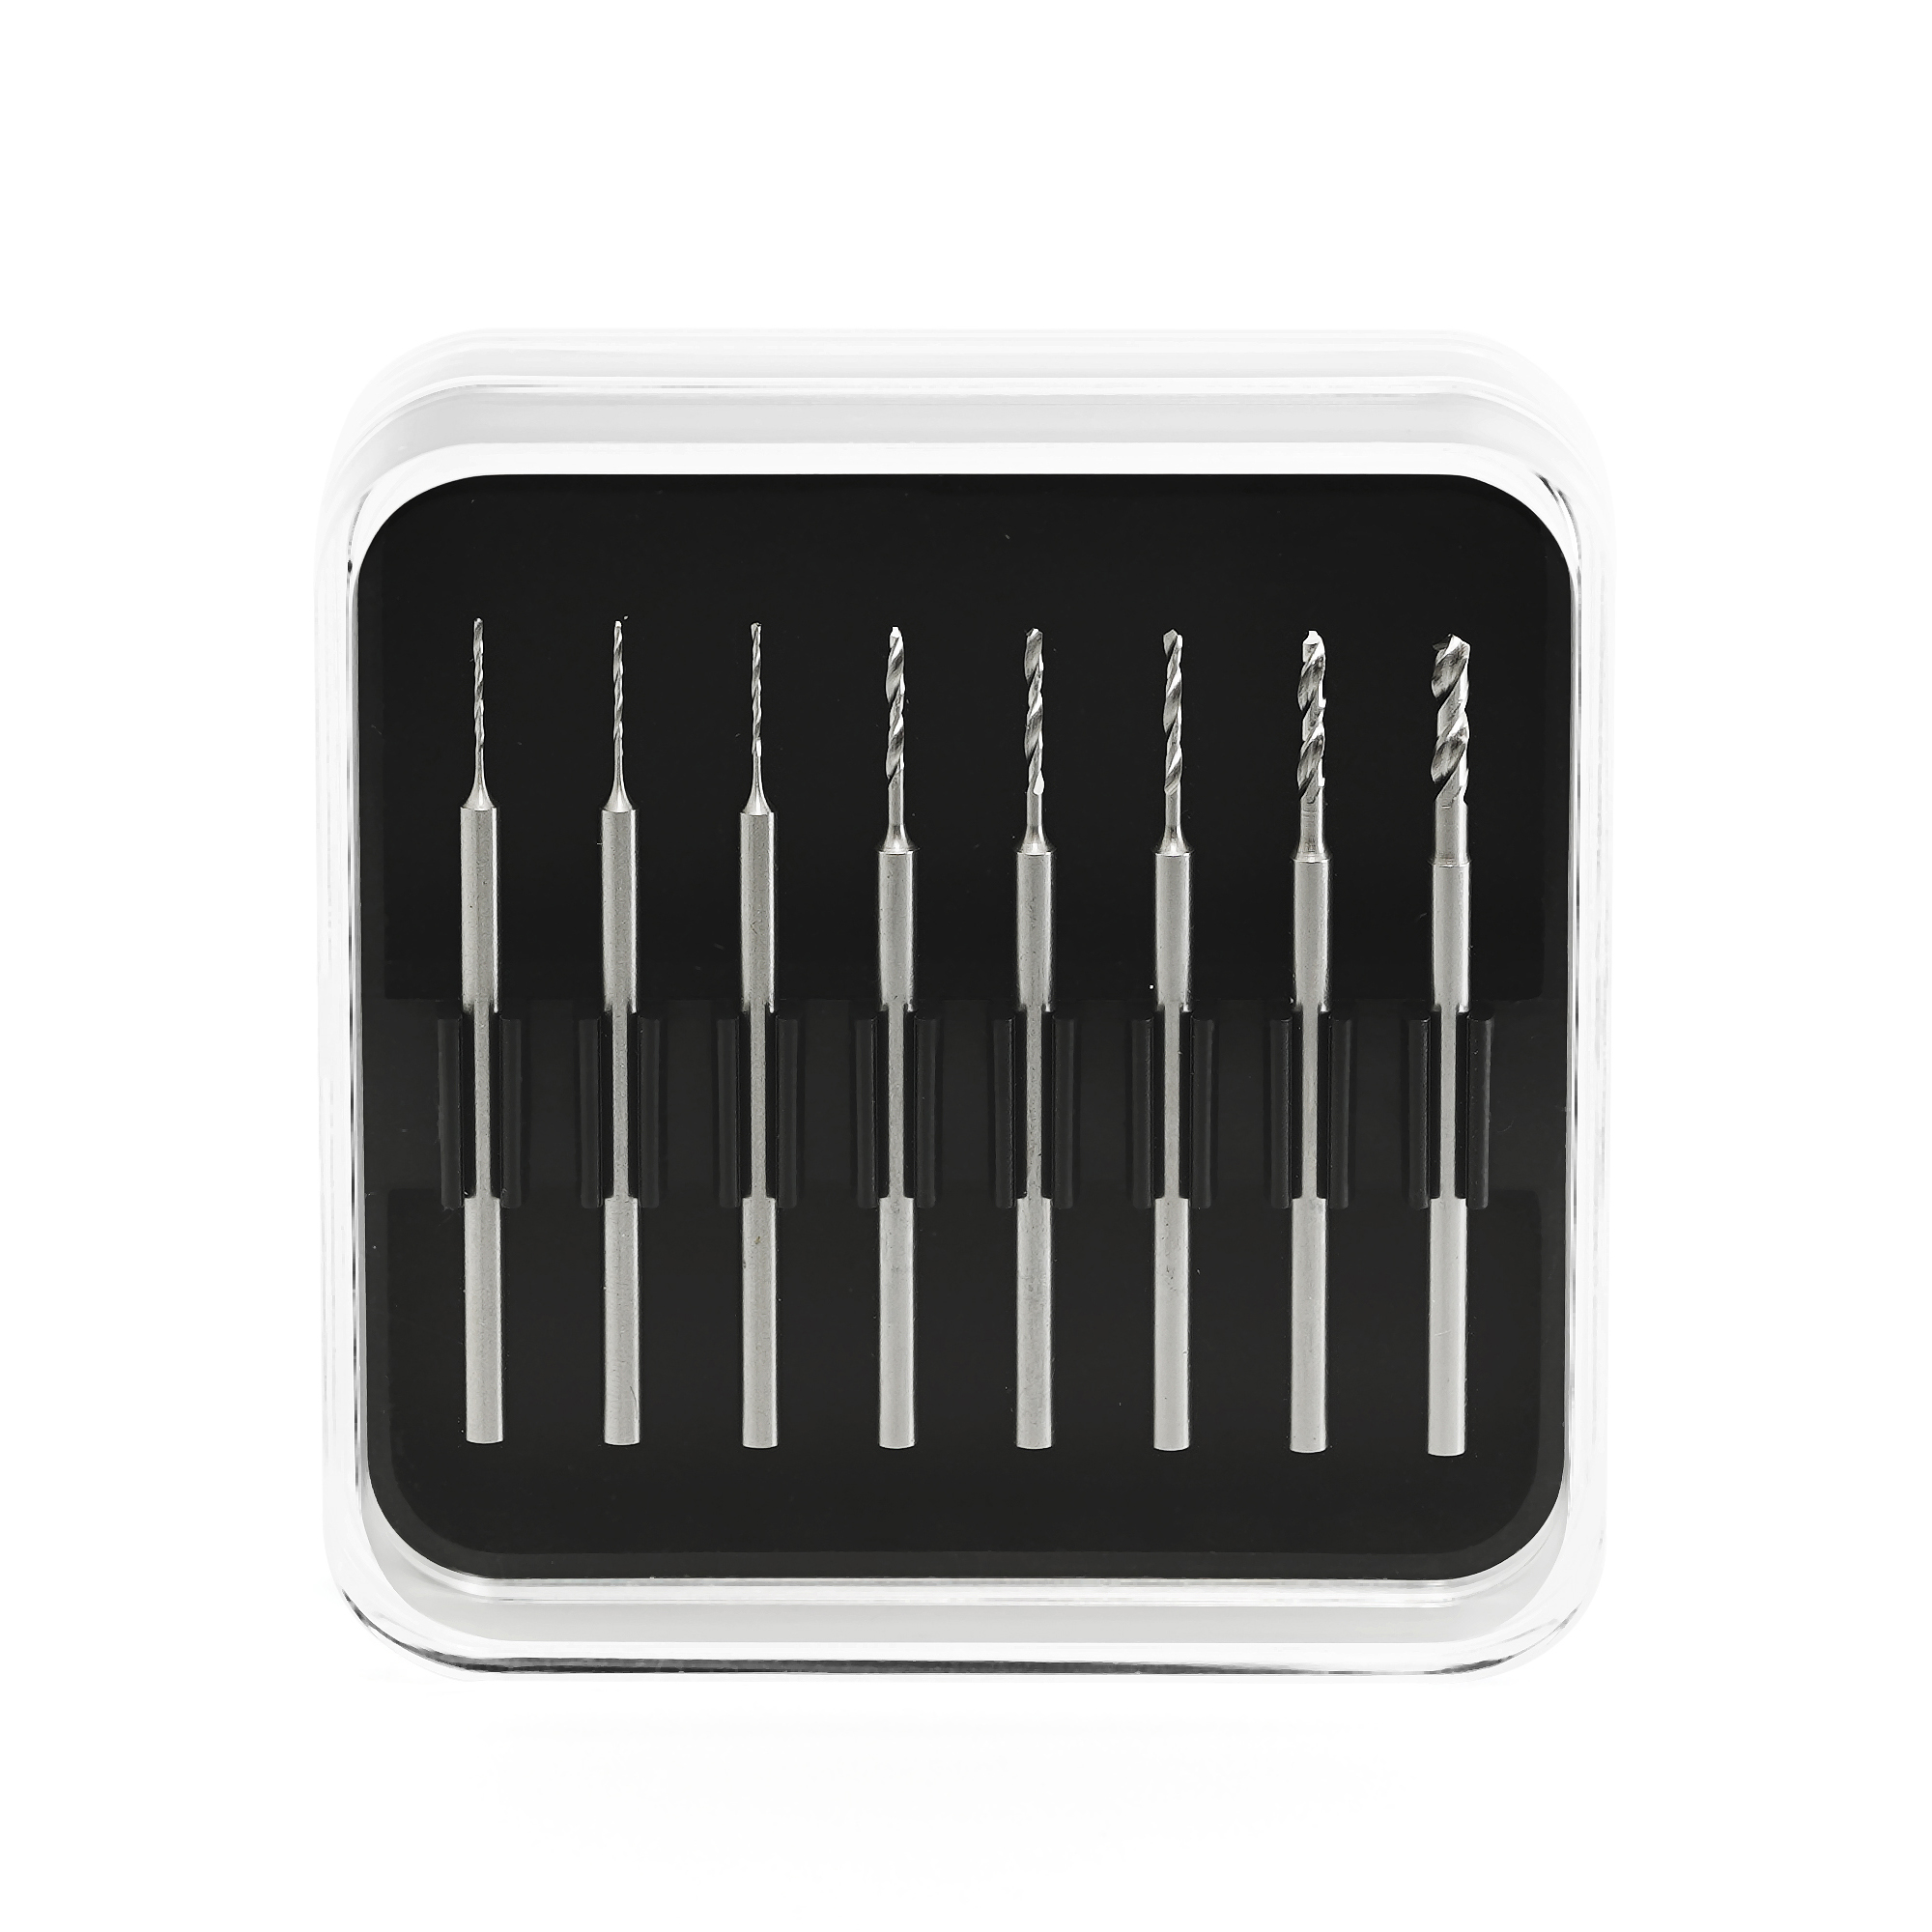
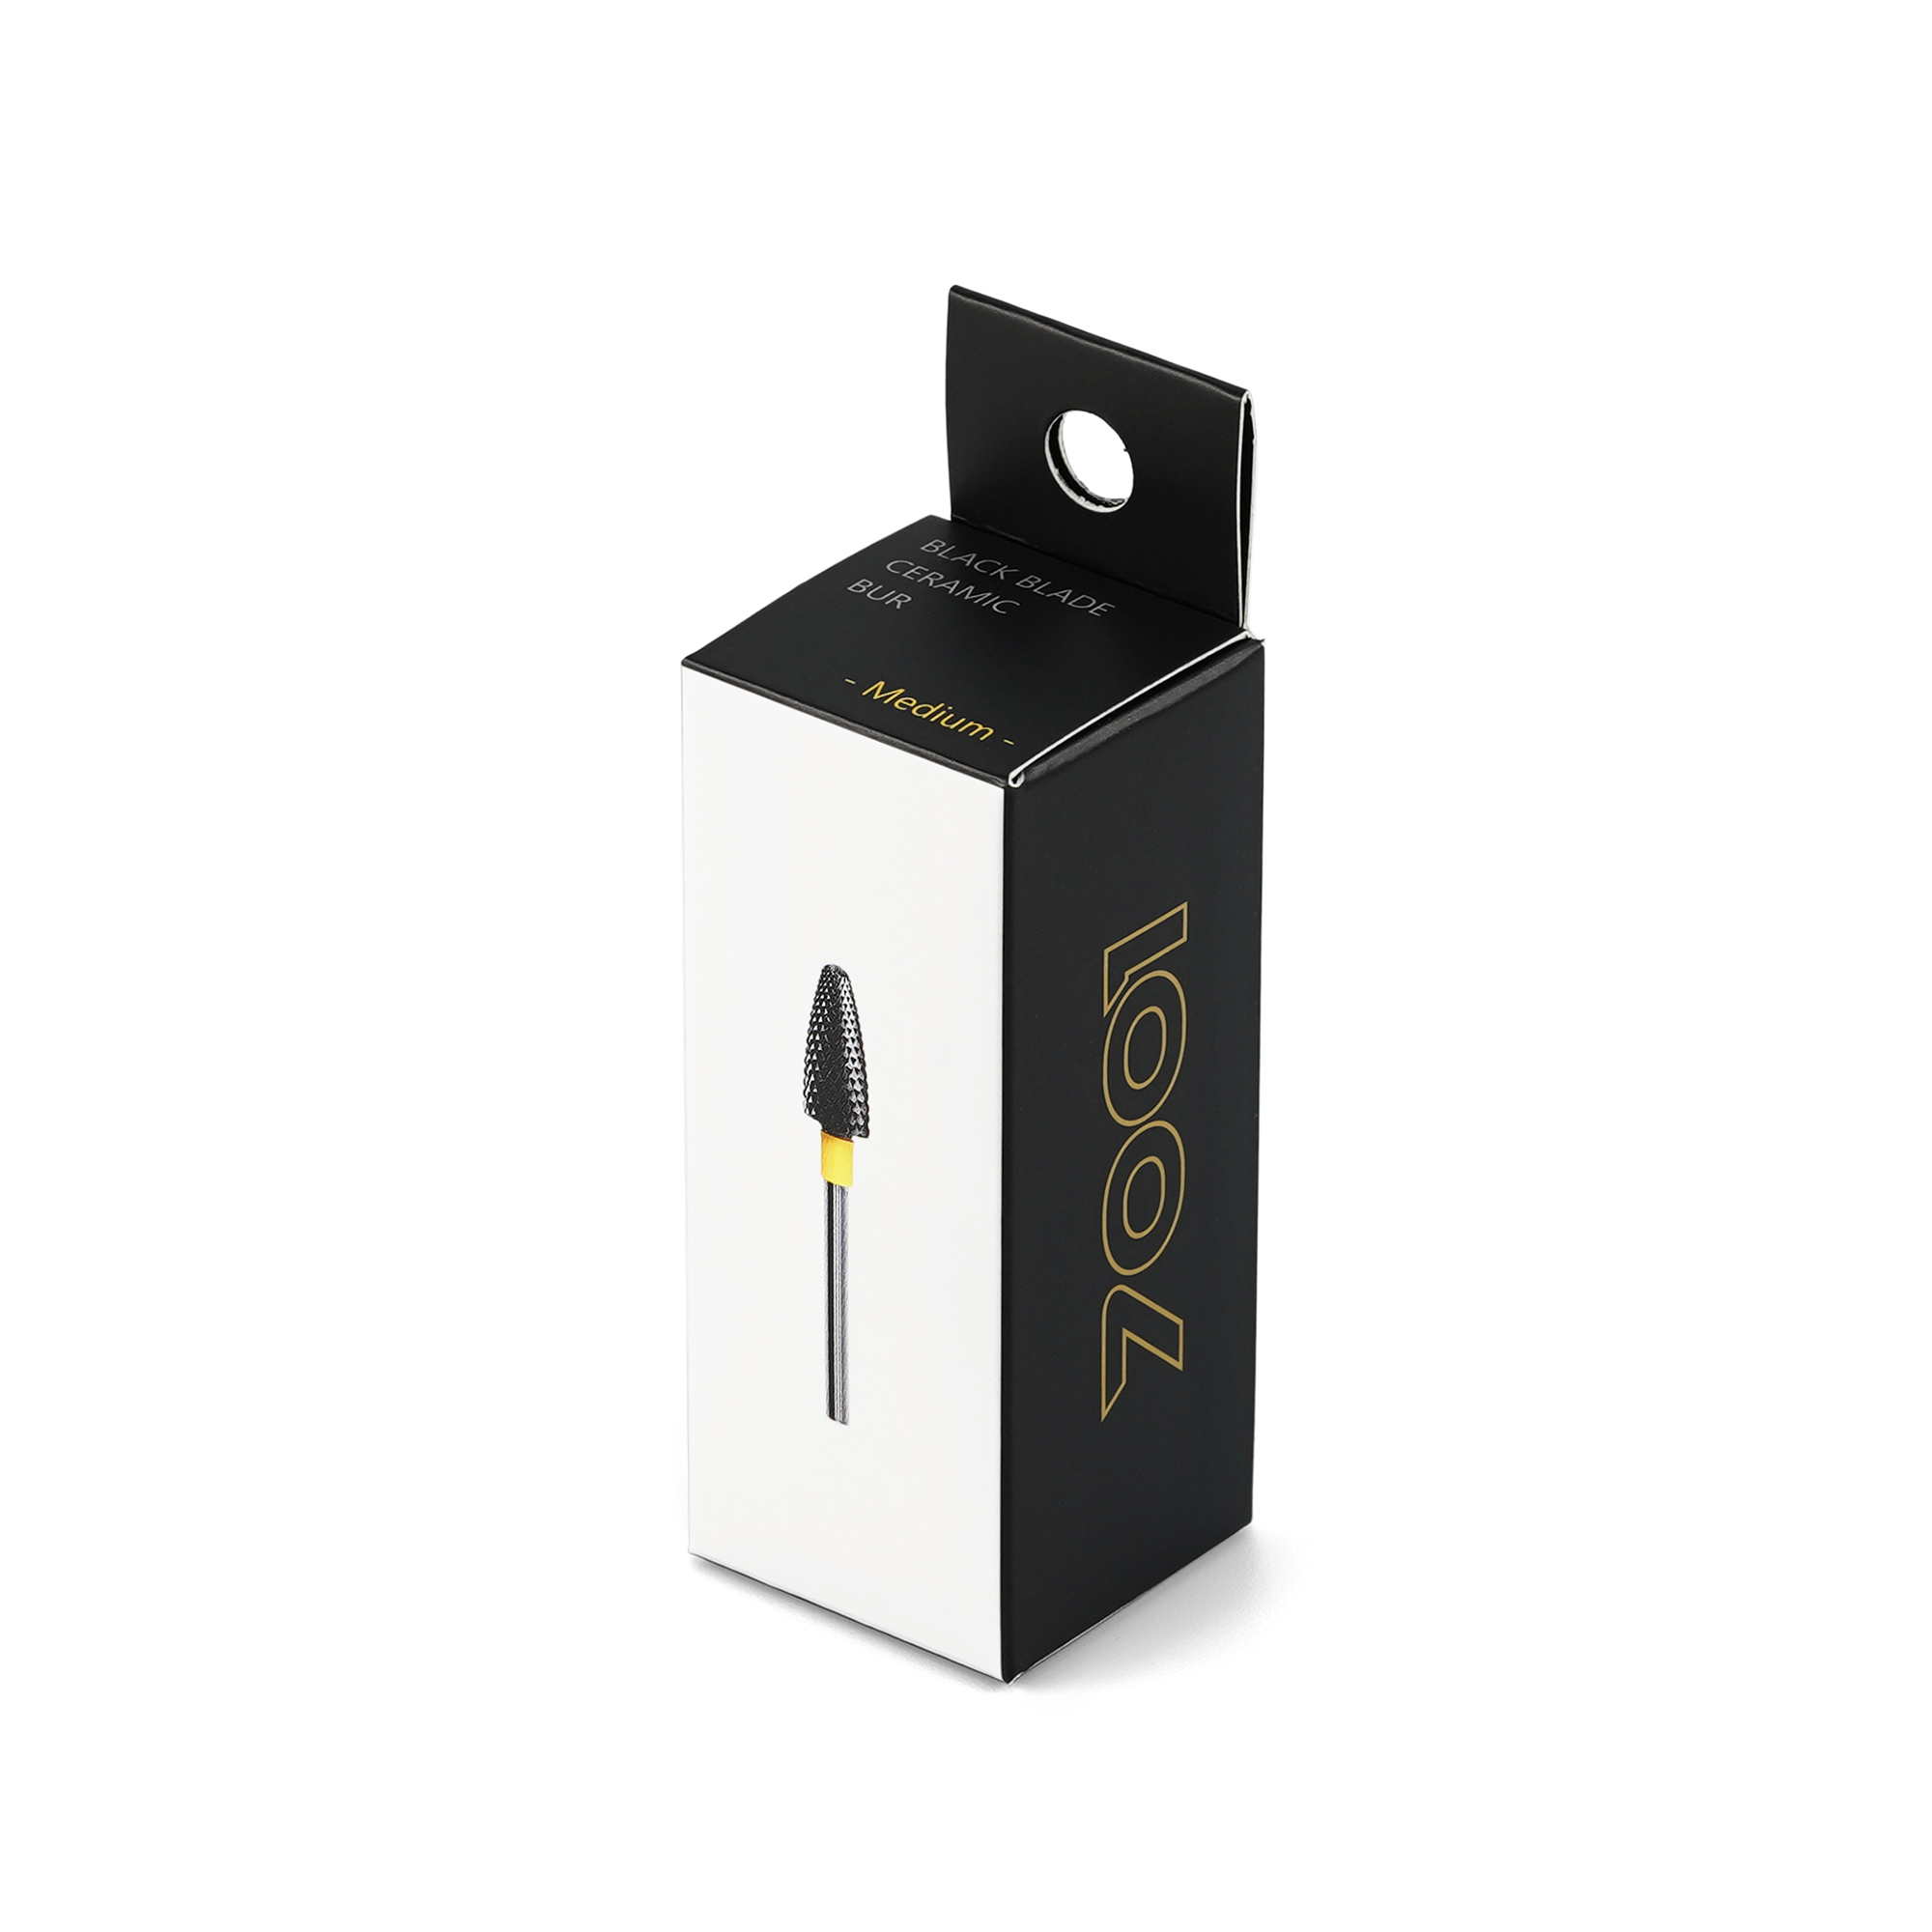
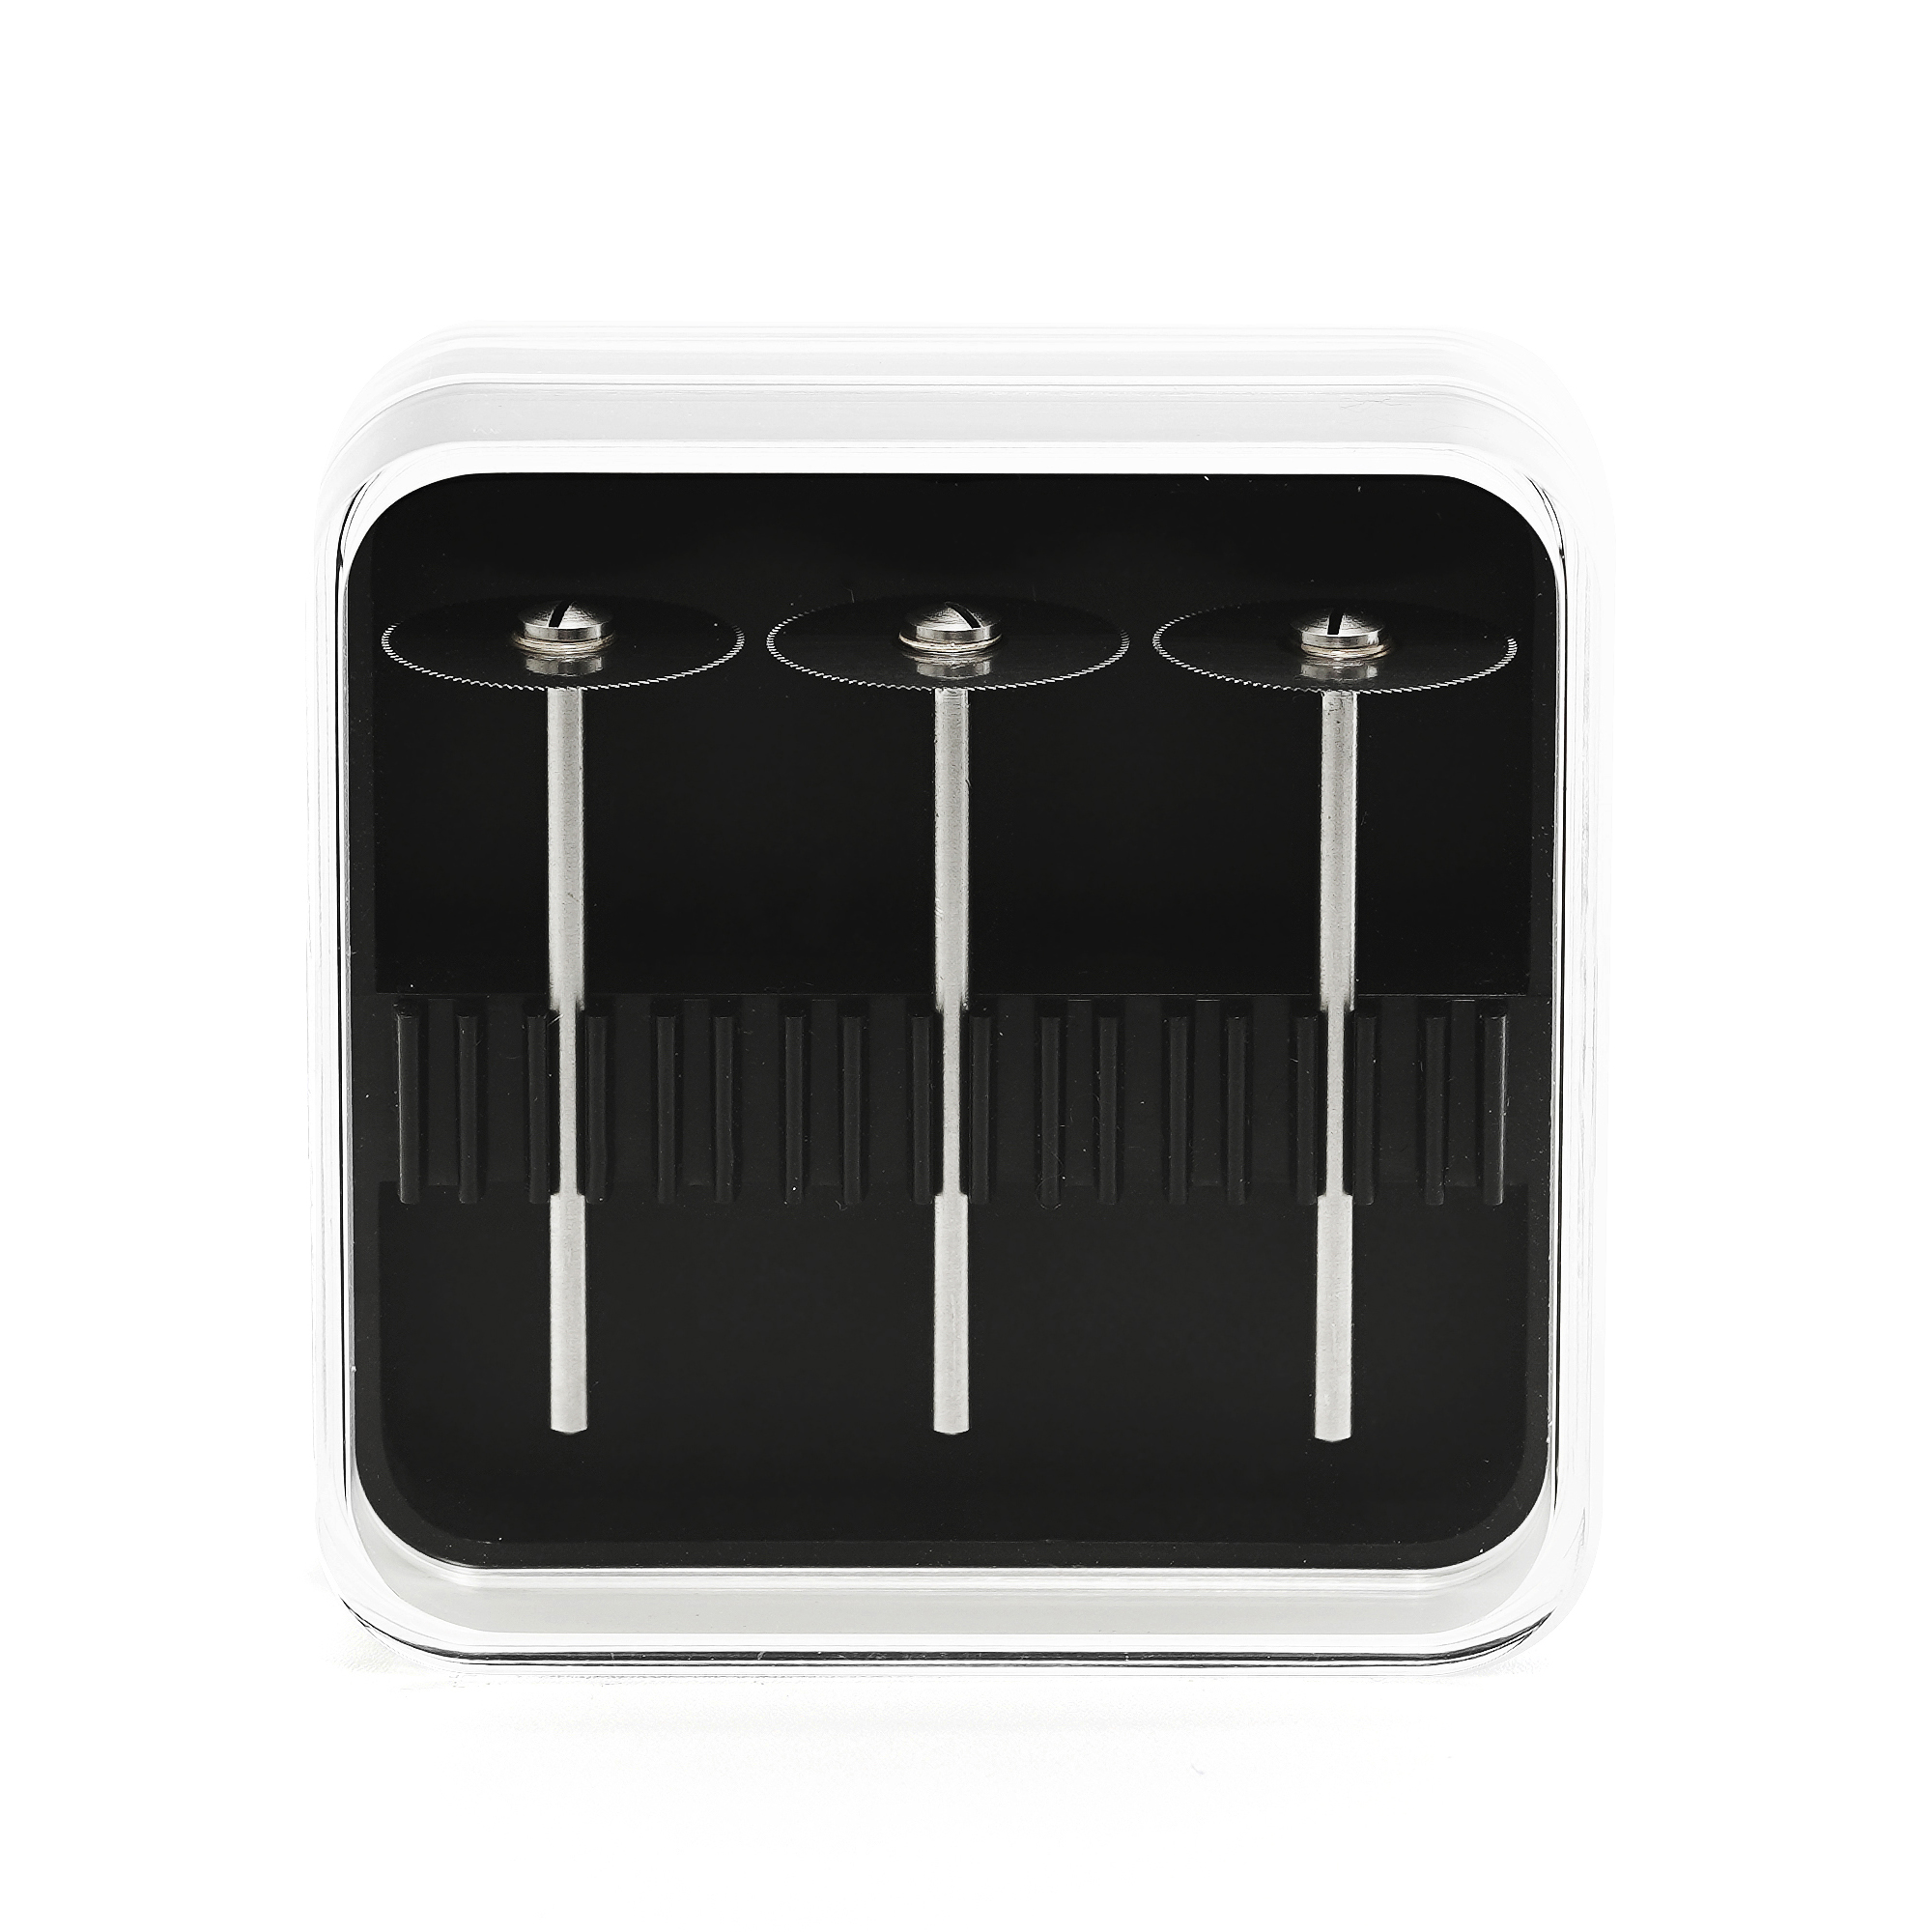
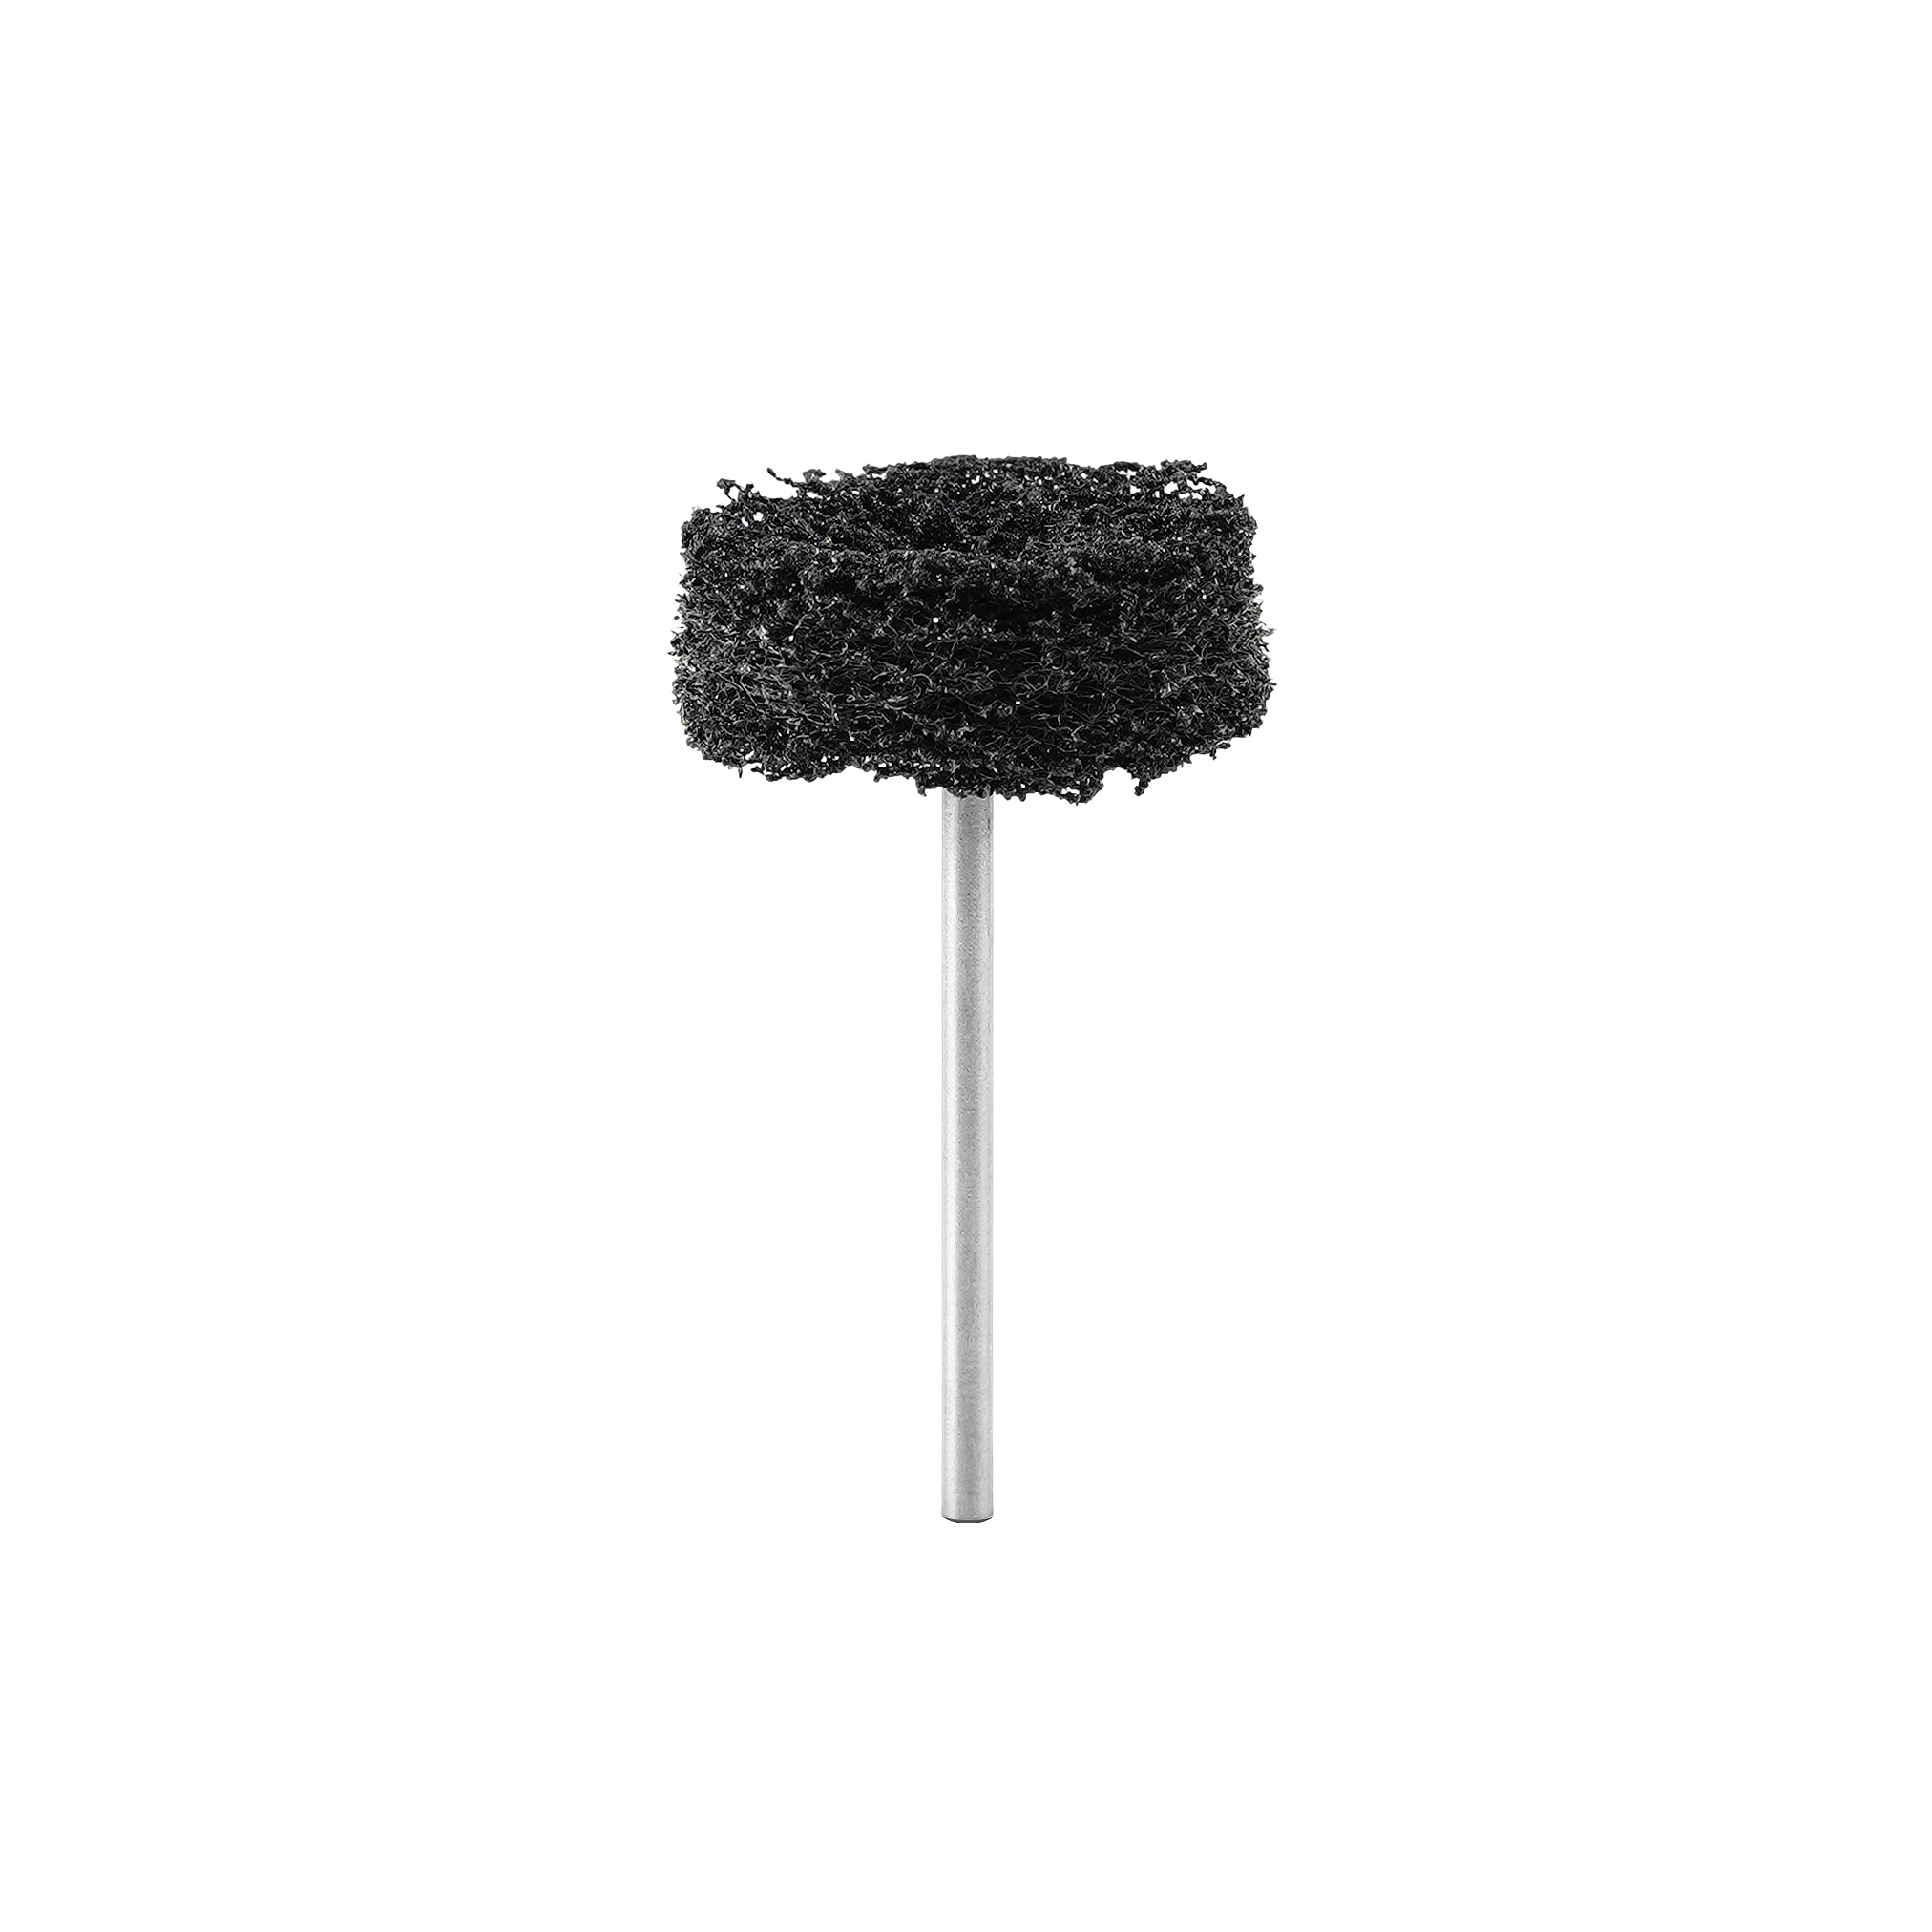
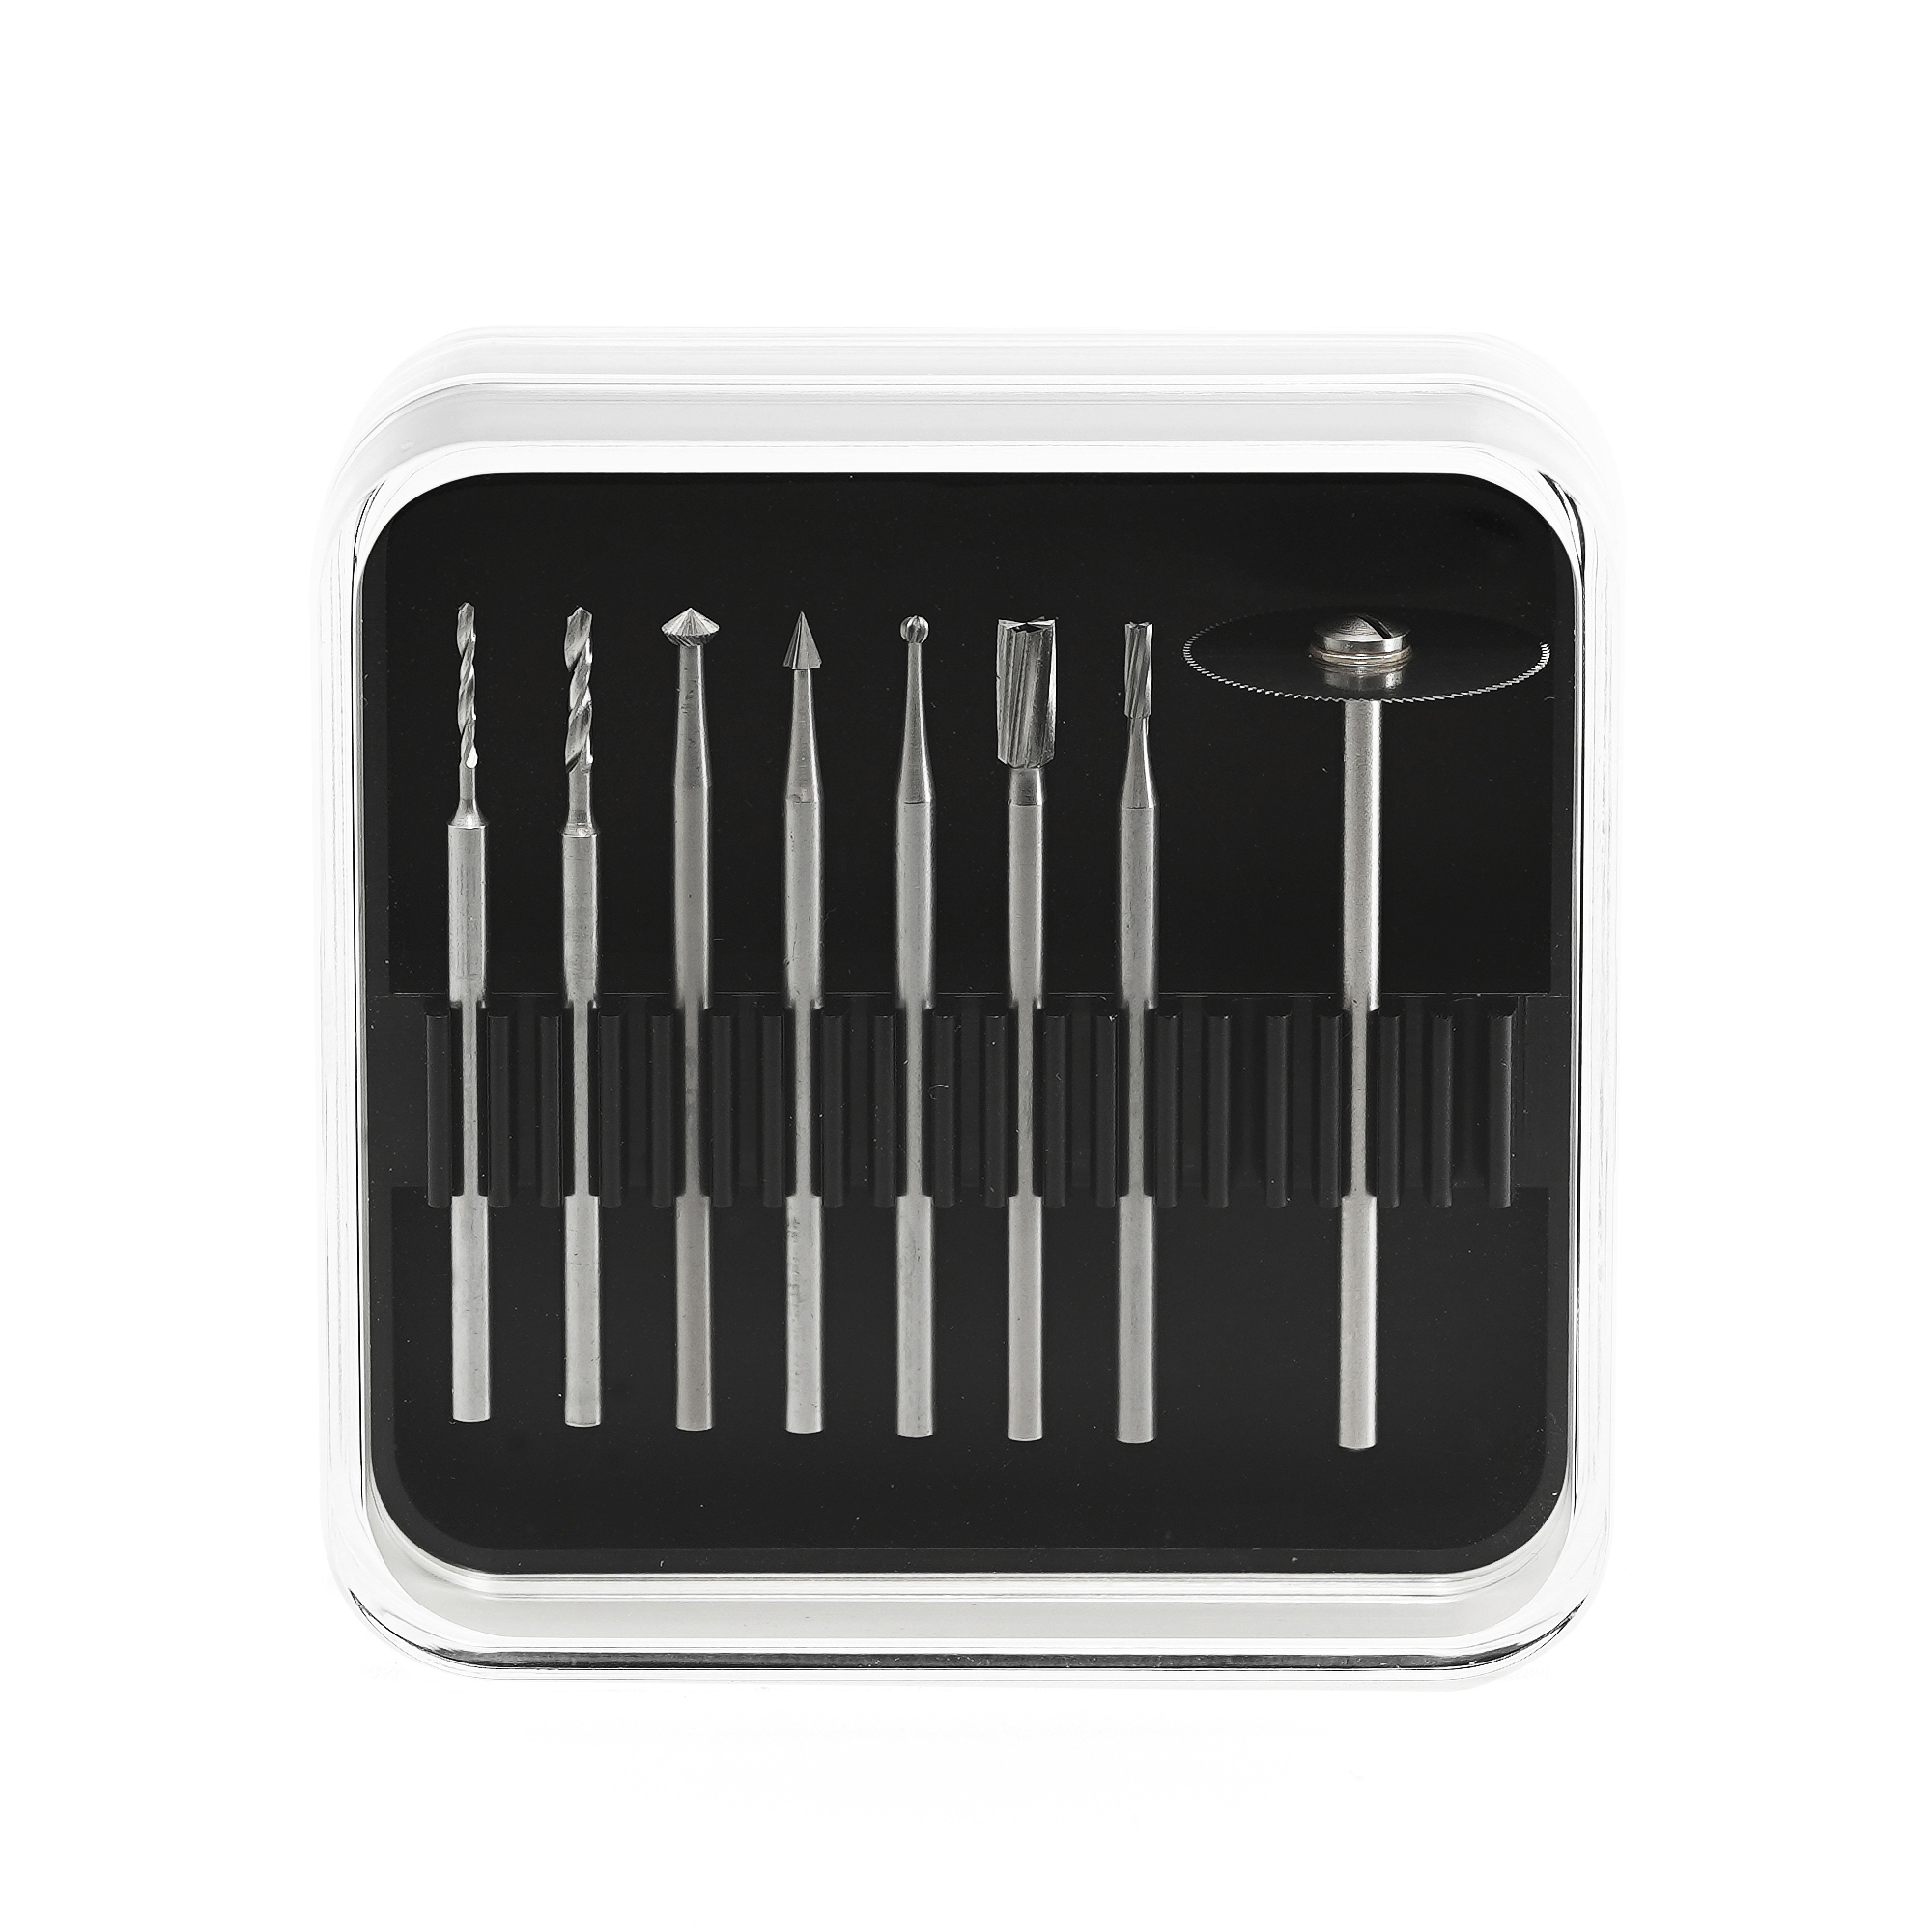
8 pcs of High Performance Cutters and Burs (M3001)
The All New D550T
Introducing the DAVID 550T, an innovative electric rotary tool designed specifically for post-processing 3D printing and plastic model crafting enthusiasts. Leveraging the patent from the DAVID 365, the DAVID 550T features an enhanced “Auto-Torque Engine SP” that empowers users to seamlessly navigate diverse processing scenarios. By simply switching the 2-stage A.T. Mode button, users can effortlessly select between three distinct modes.
Additionally, the DAVID 550T incorporates a “Self-Calibration Mode,” ensuring optimal performance even as the motor’s sensitivity diminishes due to natural wear. Upon entering this mode, the controller reprograms the motor’s current states, restoring the auto-torque compensation to its original factory-settings level as possible.
Main Features
・Auto-Torque Engine SP:
- Press the A.T. Mode button on the controller to activate the Auto-Torque Mode.
- The A.T. Mode indicator will display:
* Breathing light during the first stage (60% output).
* Constant light during the second stage (100% output).
- Press the A.T. Mode button to cycle through the first, second stages, and disable the mode.
・Self-Calibration Mode:
- Adjust the speed control knob to the lowest setting and ensure the main power switch on the controller is deactivated (power off).
- Connect the controller to an AC outlet.
- Connect the handpiece to the controller and turn on the power switch on the handpiece. (Note: The motor will remain stationary at this point.)
- Continue pressing the A.T. Mode button while simultaneously activating the main power switch on the controller. The handpiece motor will start running, and the A.T. Mode indicator will begin blinking. Refrain from moving the handpiece or applying resistance to the handpiece (running motor) until the A.T. Mode indicator indicates a light-off state. This process typically takes approximately 5~8 seconds to complete.